Scenario Import
This task imports data into CCH Tagetik Supply Chain from CCH Tagetik Analytical Workspace datasets stored within your workspace for a specific scenario.
- Select the Data Entry & Reporting menu from the CPM workflow interface. Select the Import Scenario task from the Parameters menu.
- From the CPM Contribute interface, click Open Process.
- Click on the Scenario Import task tile and click Run.
- Select the parameters used in SCP to configure this task.
The isLiveAssumption flag allows data to be loaded into SCP for the scenario. If this option is not selected, the data is imported into SCP using the scenario from the CPM process.
Build system starting with:
- System prototype: This removes the current data records in the system and replaces them with demo records.
- Current build with all non-system records removed: This removes the current data records in the system and replaces them with the new records you have specified.
- Current build: This is the default. It adds the new records to what is already in the database.
Back up the existing system before a new build.
- Yes: It creates a backup file that you can restore.
- No: It does not create a backup file.
- Click Run.
The data imports to the SCP platform.
Run Scenario via Snapshot
This task imports data into CCH Tagetik Supply Chain from CCH Tagetik Analytical Workspace datasets stored within your workspace into for a specific scenario. The snapshot data processing the same behaviorus of “Scenario” task with fix parameter “Create”.
- Enable the Snapshot from the Processes definition setting according to the CPM standard configuration.
- Access Scenario Planning using Snapshot in the CPM End User Process Interface. Use the Process cockpit on the contributor web interface.
- All accessible processes are displayed from the CPM Contribute interface. Click Open Process for the process you need to use.
- Click Open Process to access processes in the CPM Contribute Interface.
- Select the User Tools to enter the Process cockpit.
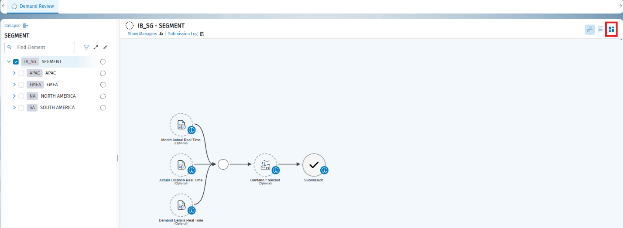 6. Select Snapshot in data processing.
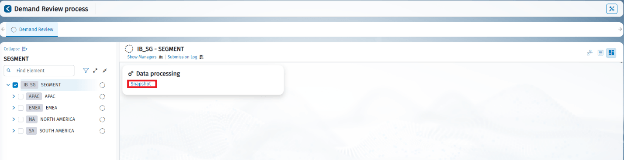 7. Click Action > Create.
8. Select the Version. For example, Version 001.
9. Mark the Enable SCP Data Processing checkbox under SCP Data Processing.
7. Click Action > Create.
8. Select the Version. For example, Version 001.
9. Mark the Enable SCP Data Processing checkbox under SCP Data Processing.
This includes the SCP data in the Snapshot. 10. Click Create.

The scenario uploads according to the **Scenario Planning Metadata – CPM Process** Configuration.
Use a comparison report to compare data between different scenarios. This report reads data from a dedicated data source within the workspace.
- Open the report using either the web interface or Excel.
Run Scenario via Workflow
This task manipulate Scenarios data into CCH Tagetik Supply Chain from CCH Tagetik.
- Set up the scenario task from workflow.
- Select the Data Entry & Reporting menu from the CPM workflow interface. Select the Scenario task from the Parameters menu.
- From the CPM Contribute interface, click Open Process.
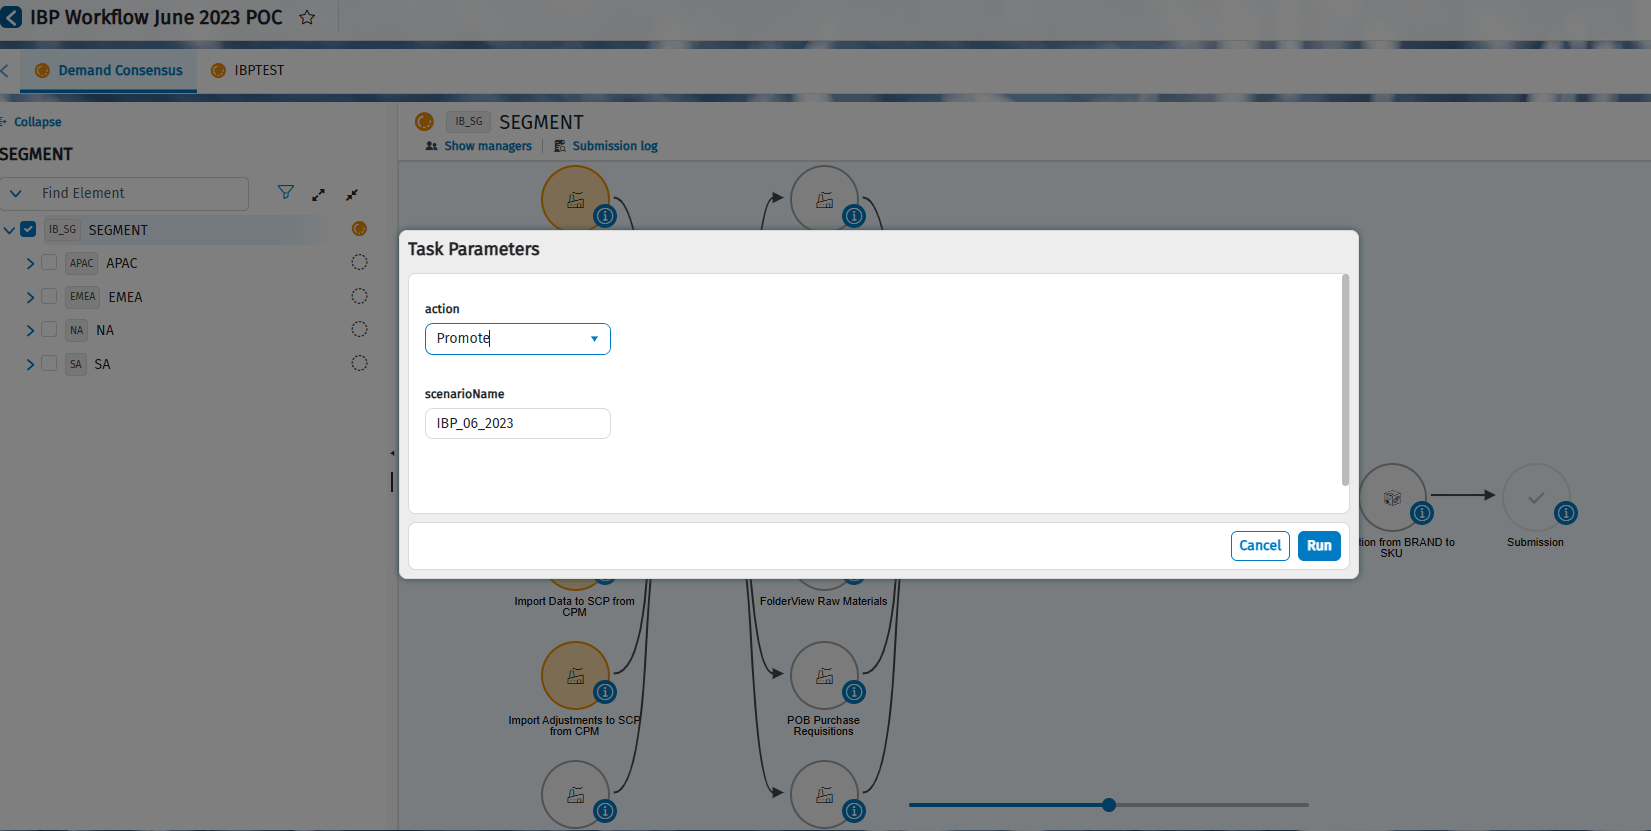
- Click on the Scenario task tile and click Run.
-
Select one of the following Action:
-
Delete a scenario.
- Refresh to update a scenario.
- Merge to move the data from a scenario to the live assumption.
- Create a new scenario.
- Setup Scenario Name. The element is automatically filled out with CPM Process Code. Eventually version should be added manually. For example IBP_06_2025_001, process code is "IBP_06_2025" and version is "001".
- Click Run
Run Scenario via Job Scheduling
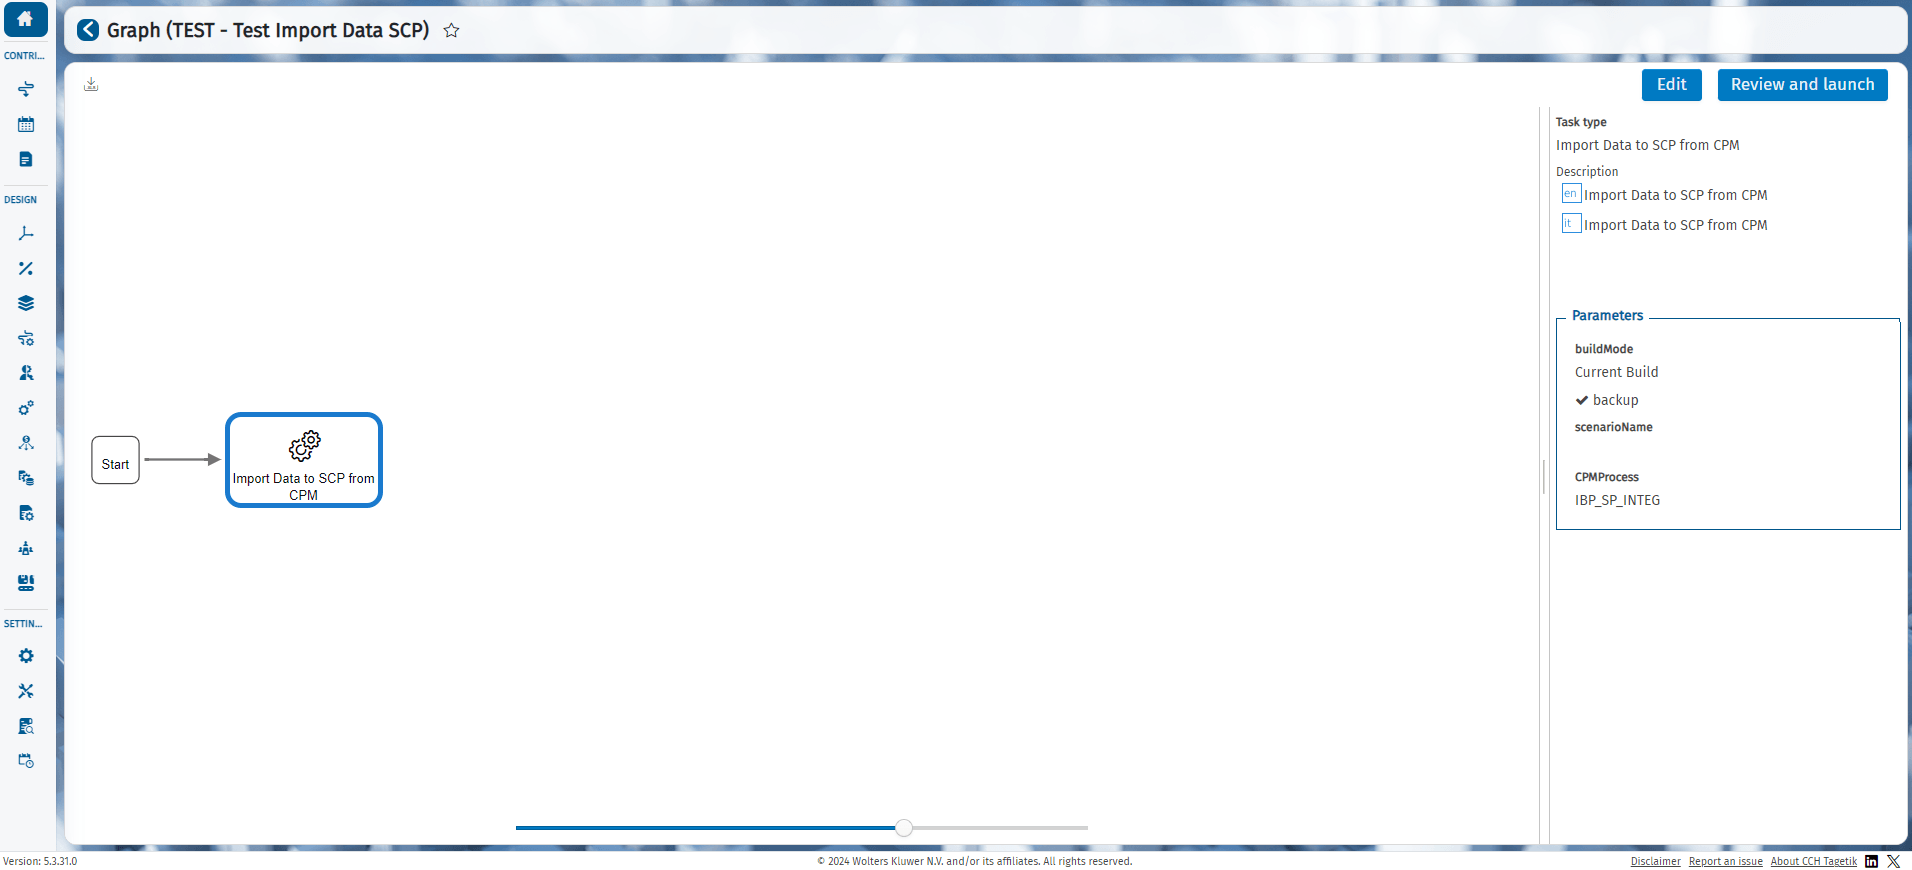
All tasks viewable via workflow are schedulable according to the standard CPM scheduling procedure of Data Processing -> Job. The SCP integration tasks are inside the "Core Data Processing" page of Data Processing -> Job.
In case of partioned dataset the task should be scheduled only within CPM. The modernization doesn't support scheduling via old interface within SCP. That because CPMProcess is missing which is one of the required parameters.
Note: If you want to launch the data processing on LiveAssumption SCP should be always ScenarioName empty.
If the data processing works with partioned dataset the CPMProcess parameters must be fillout with CPM Process code.
Note:
The action name "Delete" allows to cancel all the scenario version selected or with the same process code:
- Case A, For example, if the instance contains the scenarios IBP_06_2025_001, IBP_06_2025_002 and IBP_06_2025_003. In case the action is set as "Delete" and scenario name "IBP_06_2025_001", only the scenario with the same code will be delete.In this case, scenario IBP_06_2025_001.
- Case B, For example, if the instance contains the scenarios IBP_06_2025_001, IBP_06_2025_002 and IBP_06_2025_003. In case the action is set as "Delete" and scenario name "IBP_06_2025", all the scenarios that starts with same code will be delete. In this case, scenarios IBP_06_2025_001, IBP_06_2025_002 and IBP_06_2025_003.